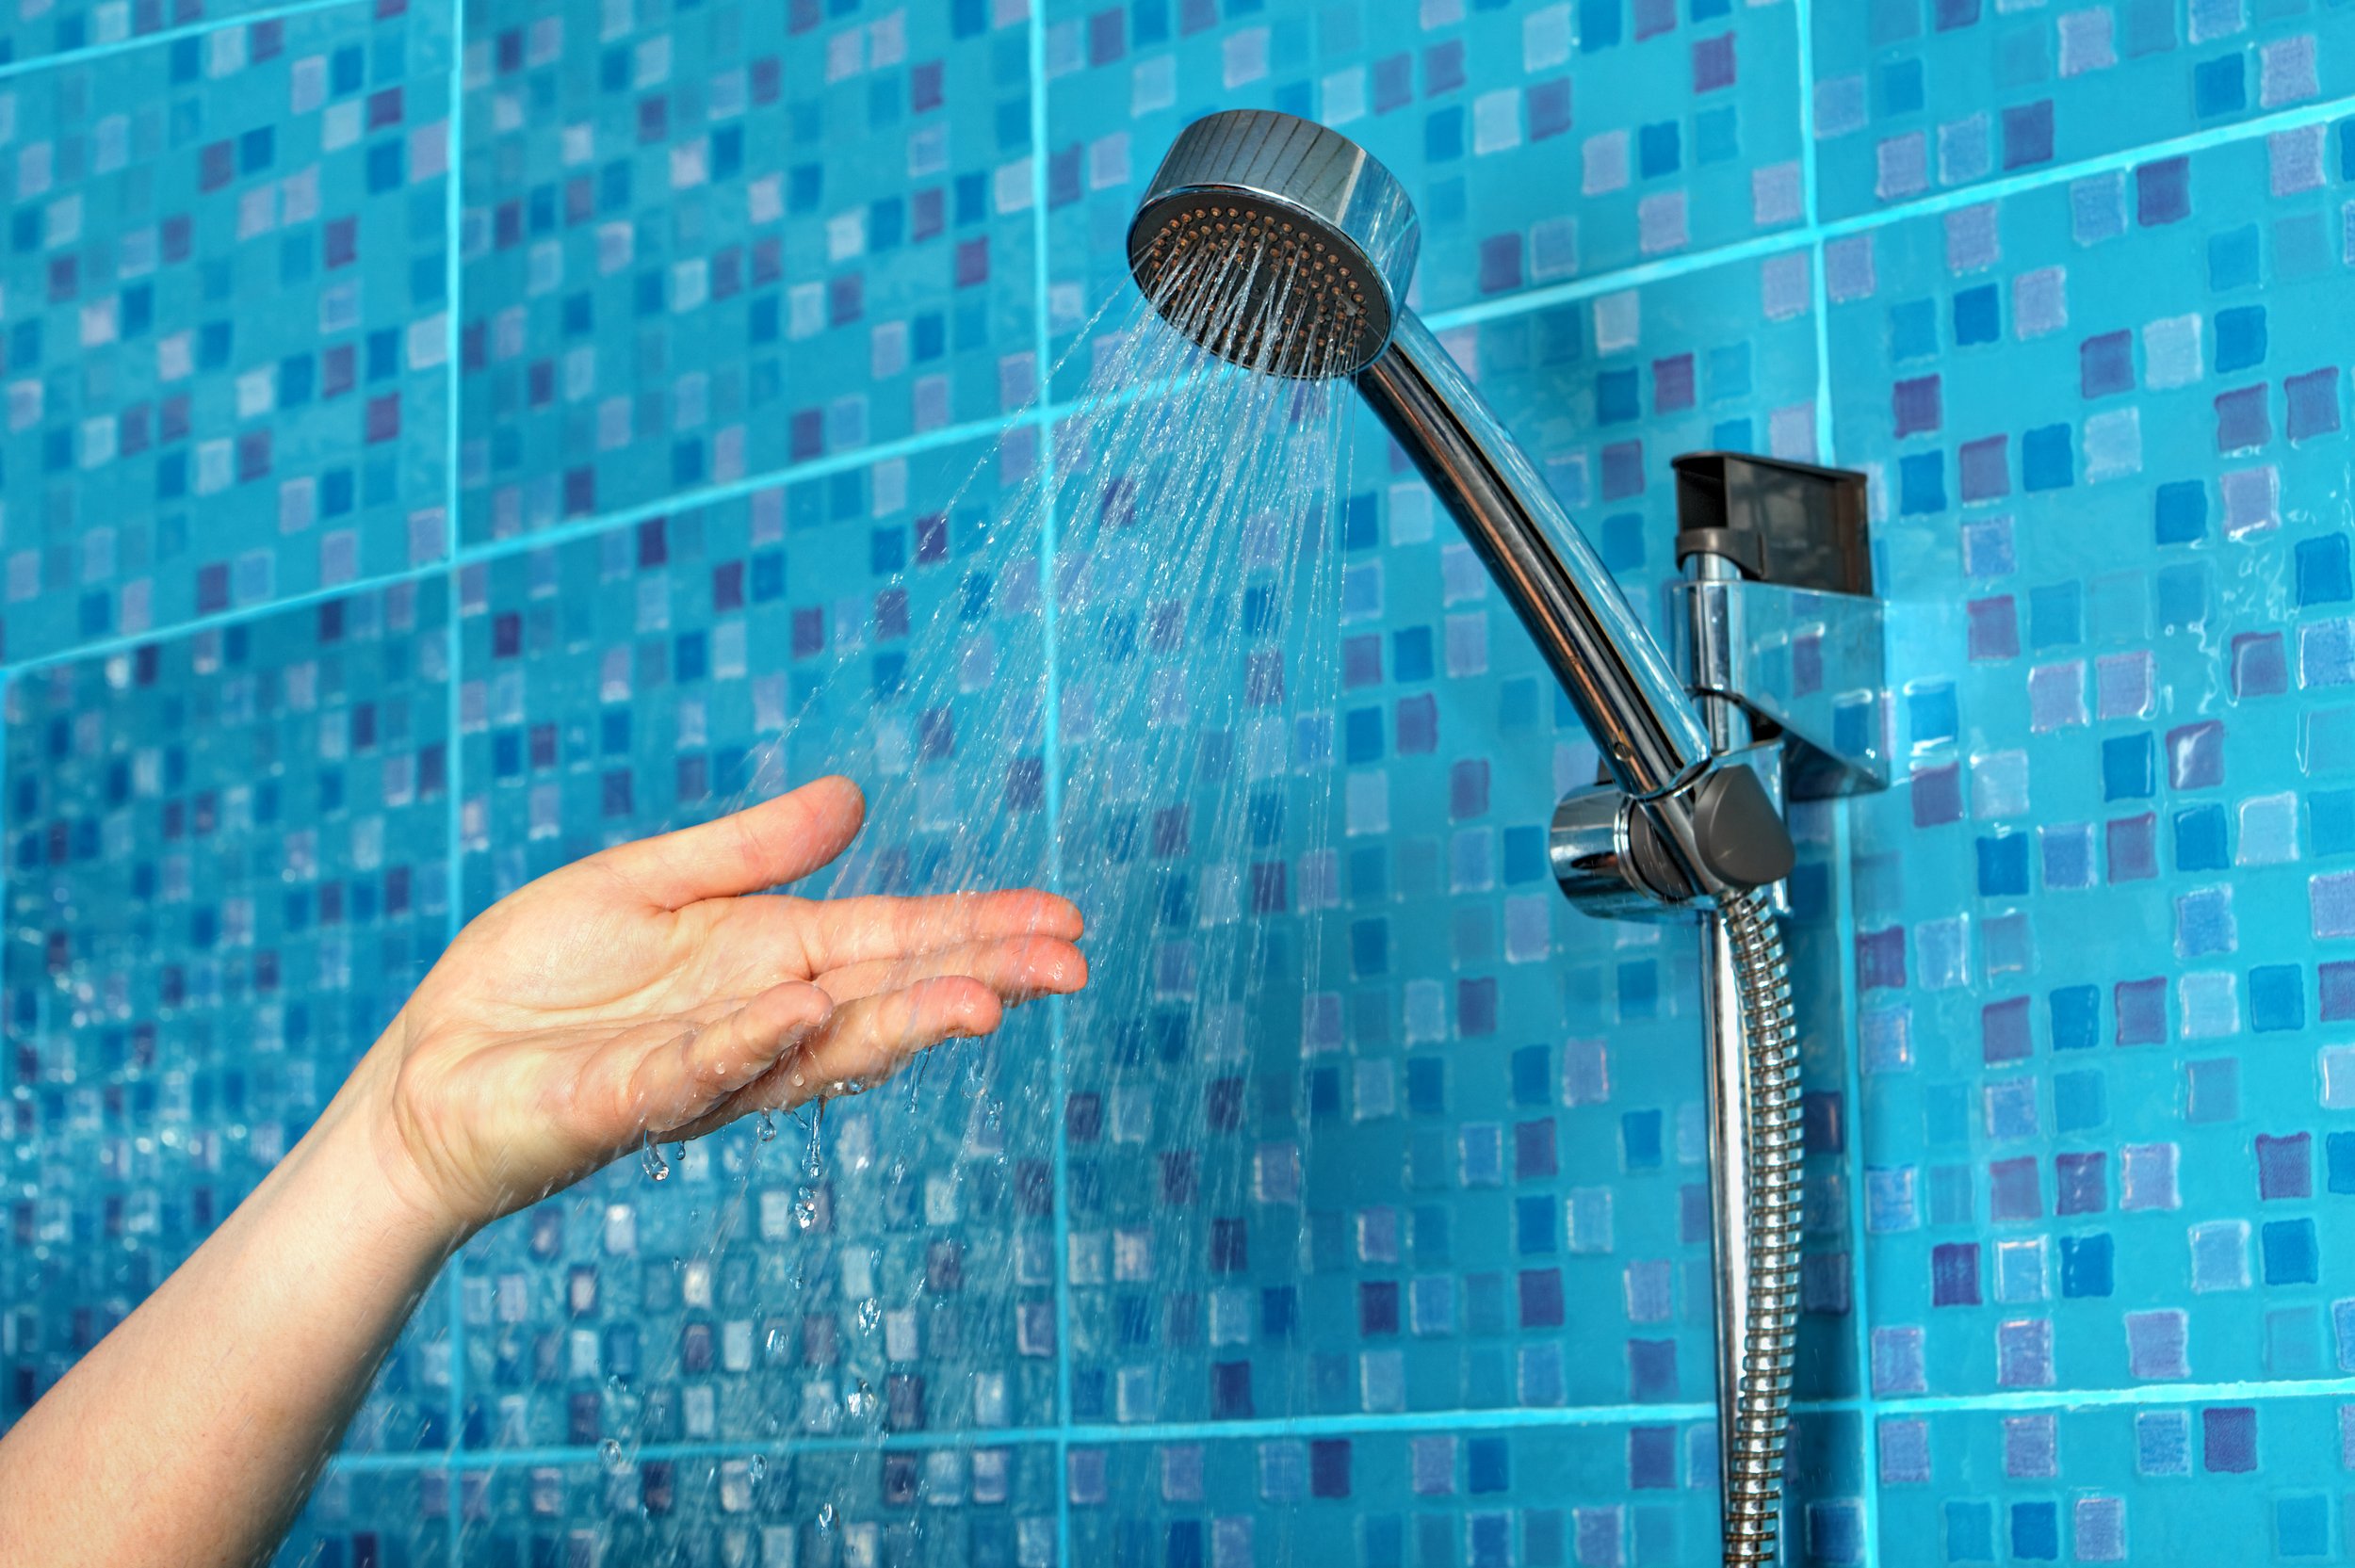
The time has come to replace the showerhead in your bathroom. If this is a project that you’ve been putting off because you’re intimidated by the prospect of doing it yourself, you might find yourself pleasantly surprised at how simple it is to undertake this task. Even better is the fact that a new showerhead can give your home bathroom a major boost, both in terms of aesthetics and in terms of water use efficiency.
First, take a look at the showerhead you currently have. If it’s been in your bathroom for an extended period of time—maybe even more than 10 years—then it might be rusty and corroded. This corrosion is not only ugly to look at, but it also means your showerhead becomes inefficient because some of the water could leak out from cracks in the seams. This reduces water pressure and could even spray water in places where you don’t want water to go (such as the walls or the ceiling, where dampness could lead to mold and mildew).
Changing this old, leaky, inefficient showerhead will likely take you only a few minutes. Here’s what you should be prepared to consider if you are swapping out your showerhead for a new one:
Choosing A Shower Head
Start by choosing a new type of showerhead that’s right for your needs. There are many types of showerheads that are available on the market. When you’re shopping for a showerhead, read the details about the product so that there aren’t any surprises once you have it attached.
For example, some showerheads are specifically designed to have a lower flow rate and lower water pressure because these are more environmentally friendly. Look for products with the WaterSense label certified by the Environmental Protection Agency (EPA), which indicates that the showerhead will use no more than 2 gallons of water per minute.
Lower flow rate shower heads are a huge benefit if you are looking to lower your water use and, in turn, both your water bill and your carbon footprint. But if you’re somebody who likes a high-pressure shower, these eco-friendly showerheads could leave you feeling a little disappointed.
Before You Start
Gather your supplies. To change out a showerhead, you might be lucky and need only a pair of hands and the replacement head. However, changing out that old showerhead could prove difficult, especially if it’s been on there for a while. Tools like a wrench and pliers, along with a cloth rag, can help. You should also be prepared with Teflon tape on hand to help you attach the new head.
Replacing Your Shower Head
Start by unscrewing the old shower head from the shower arm. If you are having trouble getting it to budge, it might be because rust is holding it in place. Use the wrench and pliers to get it unstuck. You may need to wrap the rag around the shower arm to give yourself a better grip.
Once you have the old shower head removed, use the rag to clean away any rust, limescale, or other debris from the shower arm before you attach the new head.If you are attaching a fixed showerhead, you can attach the showerhead directly to the shower arm. If you are installing a handheld showerhead, you’ll need to install the wall mount that will hold the showerhead, and then connect the shower head to the arm using the shower hose.
In either case, begin by aligning the showerhead with the arm and screwing it in a clockwise direction. Get it as tight as possible. If it helps, you can wrap Teflon tape around the grooves at the end of the new showerhead, which will allow it to fit more snugly onto the shower arm and create a seal so that no water leaks out.After you have the new shower head fitted onto the shower arm, turn the water on and watch for leaks. If you have a leak, you might need to use more Teflon tape to build a stronger seal along the grooves where the head connects to the arm. You may also need to screw the head more tightly to the arm. However, be careful not to screw the head on too tightly, as this might result in cracking the base of the shower head, which will ultimately lead to more leaking.
Keep an eye on your new shower head over the first several days you have it attached. It’s not unusual for a showerhead to fit easily onto the shower arm but then develop a leak after a few days. If this happens, simply unscrew the showerhead and try realigning it with the arm. Screw it on tight and check to see whether the leak is still there.

